How to disassemble a computer step by step
You may have a reason to disassemble your computer; adding new components, simply cleaning or disassembling and selling. Whatever your purpose, our guide shows you how to disassemble your computer and then put it back together.
Generally, the process involves disconnecting all cables connecting one component to another and then removing the part from the enclosure or frame. Components can be attached to the enclosure with special clamps, screws, or by placing them on a bracket. In all cases, no more than a small amount of force is required to remove the part. If a part does not move, check the attachments that hold the components in place.
You’ll need a small Phillips-head screwdriver and, depending on the manufacturer of your components, probably a flat-head screwdriver. The metal in your computer case can be sharp, so it may be wise to wear gloves.
If you’re rebuilding the computer, be sure to note the area where you removed components, the order in which you removed them, and which cables will be attached to each part. You can take photos or write before each operation. Also pay attention to the screws. Secure the screws with their corresponding components by screwing them back into the holes in the component, frame, or placing them in the correct location.
Step 1: Turning Off the Computer and Disconnecting Peripherals
Turn off the computer, unplug the power cord and any peripherals connected to the computer, such as keyboard, mouse, monitor, headphones, and external drives.
Use a grounded strap or touch an unpainted metal part of the computer to discharge static electricity. If you walk on carpet anywhere, touch an unpainted metal part of the computer again to discharge any accumulated static electricity.
Step 2: Removing the Side Covers
Remove at least one of the side covers. When viewed from the front of the computer, it should generally be on the right side. If you remove both side covers, it will be easier to access all parts. Sometimes the covers have thumbscrews to make this simpler.
Step 3: Removing Connectors
Disconnect all connectors, remove card readers and internal DVD players. These are usually screwed into place.
Step 4: Removing the Fans
Remove individual fans. This is a good time to clean the fans of dust, lint, and pet hair if you plan to use them again. Small brushes remove dust and lint from exposed fan on desktop computer
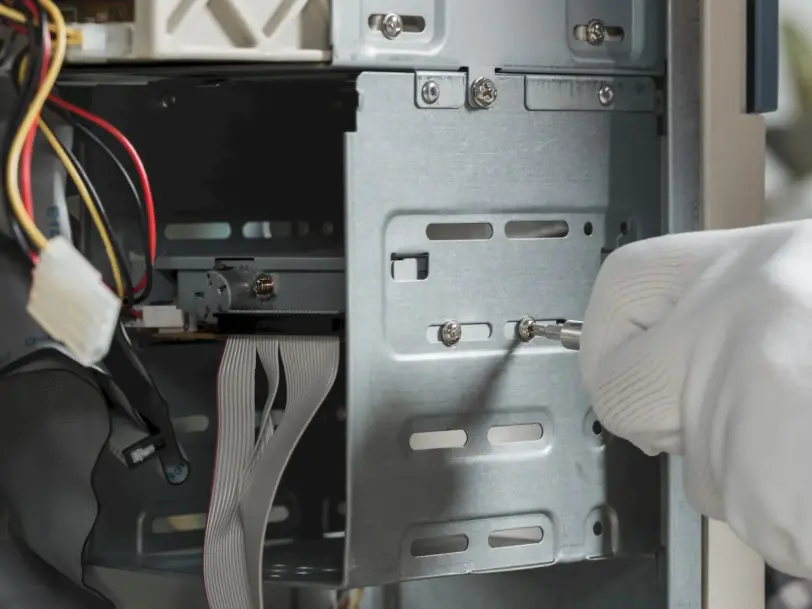
Step 5: Removing Cables and Drives
Disconnect the cables and remove the storage drive. Generally, storage units are held in place with numerous screws. If you have a hard drive, be careful when handling the drive as strong impacts can damage internal parts.
Step 6: Removing Memory
Remove the memory modules (RAM) by pressing the clamps on both ends. This causes the module to separate for easy removal. If you are reusing modules, do not touch the gold connectors on the chips.
Step 7: Removing the Power Supply
Remove the power supply unit by removing the remaining connectors and then unscrewing the unit from the frame.
Step 8: Remove All Cards
Remove any adapters or expansion cards from the motherboard. While these cards are usually installed in pre-configured slots, screws may be present. If you are reinstalling the cards, do not touch the gold connectors on the cards.
Step 9: Disassembling the Motherboard
Disconnect all cables from the motherboard, then unscrew them from the frame by loosening each screw slightly before tightening each one properly again. This gradually releases the stress on the motherboard, preventing it from failing.
All components should now be outside the computer case. If you’re going to reuse the case, it may be time to get rid of any accumulated dust and lint.
Step 10: Resetting the Computer
If you are reassembling the computer, place the components in the reverse order you used to remove them, starting with the motherboard. Plug in all cables when placing the component. Most items will plug into the motherboard and a power supply unit.